Prologue
I have been working on this project for quite some time now and still it’s not finished. I am aware of that this kind of project will need a lot of time and work along the way, it might not ever be finished!
This is something truly epic, slightly IKEA-hacked, incredibly useful and barely fitting in to my studio apartment (which is a project itself).
I have created (modified) my own crafting closet!
It’s not the first one to ever see the light of day but it is mine and I badly need it.
When my dear scrapopedia moved in with her amazing boyfriend she got some dedicated space for her crafting, we refer to it as “skrubben”. It’s not huge, it’s not in the same league as the crazy ladies on youtube, but it is awesome. If you’ve ever seen this commercial you’ll be able to figure out the scene that took place as we were introduced to “skrubben”.
Chapter 1, the abandoned closet
One of my brother’s girlfriend had this new, huge closet left in her old apartment which she didn’t know what to do with. I got it for a bag of cinnamon rolls and some cupcakes (still not delivered yet), apparently this was what my brother wanted for the closet, she said “nothing” when I asked. She’s so sweet and kind! As a bonus I gave them a large jar of homemade plum marmalade and there might be more surprises to come! We will see.
Chapter 2, the final mount down
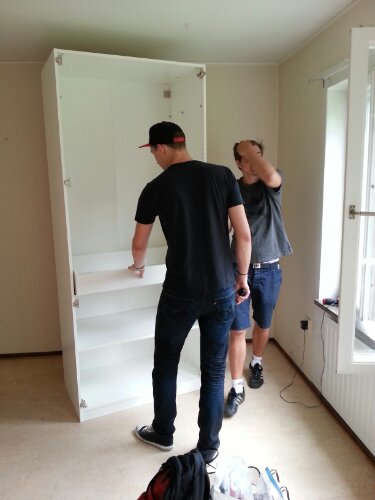
First off, both my brothers helped out to mount down the closet, carry it to the car and drive it to my mothers house.
Chapter 3, the rise of the closet
After a few weeks I decided that I was able to create some space for it in my apartment so my very kind mother and brother came here to deliver it and my mother also helped with reassembling it.
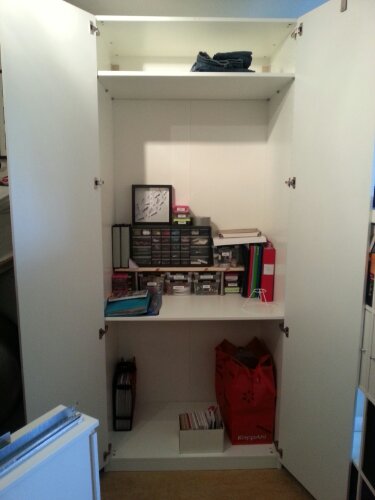
It had to shelves and a drawer when I got it, here’s what it looked like after I started to put my stuff inside
Chapter 4, some closet love – at least I tried
I went to IKEA with Jennie and Malin on a Saturday (we also went to Panduro and the best sushi place we know of: Svenska sushiköket, LOVE their bento and yakiniku!)
Anyway, I got me some more shelves, lamps, rails and baskets and most likely much more (I actually went to IKEA again the weekend after with my mother to buy stuff I forgot or didn’t find).
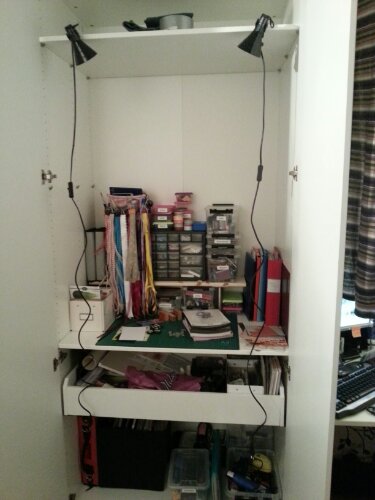
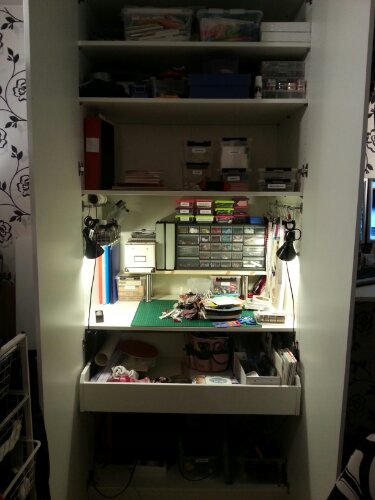
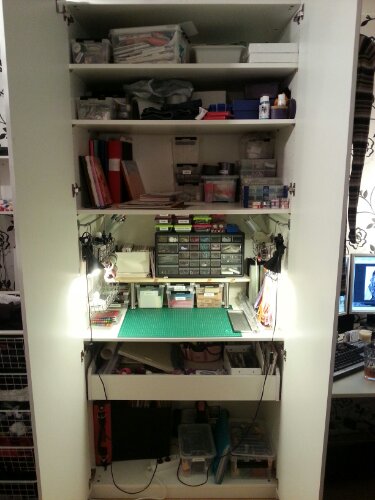
Lamps installed, didn’t work out exactly as I intended.. Doors can’t be closed this way.. sigh!
Chapter 5, oh the time we spend together
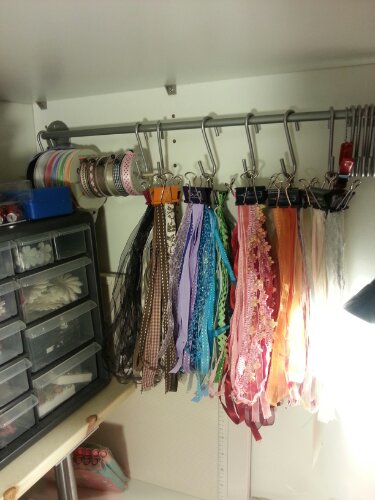
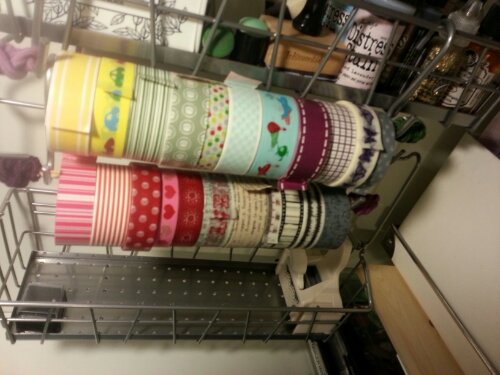
After my second visit to IKEA the closet is starting to look quite decent. I attached the rails, hung up the baskets and created a temporary solution for my washi tape. I plan to redo this solution more proper later on, but it works for now!
Chapter 6, now we’re talking
I was looking for shelves that weren’t full size deep and IKEA has a “thinner” closet with shelves. Since the holes in the shelves didn’t fit the pre-drilled holes in the closet, I borrowed a drill and a drilling machine from my dad and solved the problem on my own. I’m such a handywoman!
Now my lamps have a proper place in the closet and I can close the doors! I also get really good light in there and the lamps are somewhat adjustable. Just perfect! And all my stuff is easier to access!
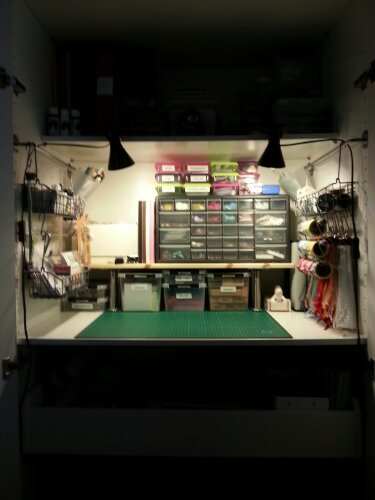
Epilogue
When this is finished, or at least somewhat finished, I will show you everything in detail, probably in one of those “this is my craft room”-videos.
Left to do for now:
- A shelf I can pull out and work on
- Organize stuff for easy access and within reach while crafting. Try to figure out what to put close to the working area. Just use the space and try to figure out what I need where basically
- Adjust the doors and mount handles
- Find a solution for the power cable inside the closet
- Put in and organize the left over stuff in my old craft cupboard
To be continued…
